Welcome to my blog on Stamping and Scrapbooking!

Let's stamp together. Whether you're a customer, a downline member or a stamp site surfer I'm glad you popped into my cyber craft room!
Have a question? Leave a comment. I'll try to address those questions the best I can.

Pages

Monday, December 27, 2010

Summer by the Sea


Good morning all!

I apologize for my sadly neglected blog! I just wanted to immerse myself in Christmas and I did! Plus the kitchen was repainted and I've been dealing with book issues sooooooo .... all that to say, I've been so busy I haven't stamped at all! Egads!

No stamping = nothing to post! That's not good. So I'm posting an older cards that I love, made with a set I adore. Wish SU would come out with more of these. By changing skin tone and hair you can make it unique to any person of any culture or race because there are no facial features. I LOVE that. In my family it's important.

I hope to post weekly now so stay tuned!
Much love and joy,
Karen

Friday, December 10, 2010

More Flower Soft

Hi everyone,
Here's another Flower Soft card. It's hard to see it on the stamped image but you can see it on the flower area coming out of the pot.

The pot is curled and raised and the stems are sold by the same company. I was trying for fall weeds but made them too short. The Christmas stmap is obviously SU!

HOpe all is well with you. I've got a stomach bug today so am wrapped in a blanket blogging. One drawback working for yourself ... no going back to bed. The show must go on!

Take care and talk soon!
Much love and joy,


http://stampinnscrappinwithkaren.blogspot.com/

Monday, December 6, 2010

Flower Soft


Hi there,
I don't know if you can see this but I received some Flower Soft as a gift with matching placecards. Aren't they adorable? I added the Stampin' Up! cardstock as a mat and matched the greeting which is also SU!

The flower soft is on the foliage part near the candles.

I can't decide is I should hand write the name, stamp it or script it with our Cricut. What do you think?
Have a great week ladies and I'll see you soon!
Much love and joy,


http://stampinnscrappinwithkaren.blogspot.com/

Friday, November 26, 2010

Free Shipping Weekend!


Good morning,

Happy Black Friday for those of you cyber shopping and figuring out the best deals. This is a free shipping weekend with me so contact me at Karen's Free Shipping so we can get the orders placed by Monday. I'll place the order at 5:00 p.m. on Sunday so please be ready with your order by then.

This card uses an old Sale-a-bration stamp set. It's such a simple card but the punched stars add so much because they tie in with the stamped image. The set was So Many Scallops. If you love it let me know. I have a few extras for sale. They're only $10 for four stamps.

Have a great weekend and good luck with that Christmas shopping!
Much love and joy,

http://stampinnscrappinwithkaren.blogspot.com/

Thursday, November 18, 2010

Matchbox Dresser


Hello everyone,

I've posted a little dresser today made using the Big Shot die cut machine.

I had it in a box and it crushed a little (sigh) but it seems okay.


Here is the top of it. The stamp set is Great Friend. I used retired DSP and Cameo Coral cardstock. I cut the DSP Top Note die and then trimmed it at the perforation marks.

The butterfly in cameo coral was a punched butterfly but the the blue stamped one I hand cut. The greetings were punched out using punches and die cuts.

The blue is Baja Breeze by the way. Love it all together.


This is how the little drawers pull out. They're made with the Matchbox die and I put Rhinestone brads through each one for drawer pulls.


I decided to wrap the tic tacs in matching DSP but wanted you to see how it all looked and fit.

This drawer has a pad of post its in it. I used yellow because they were more saffron shaded.


These are Hershey Nugget candies and I wrapped them in matching DSP like I will with the Tic Tacs.
The drawer fits four perfectly. The bowed out front of the drawer is caused by getting somewhat crushed by other projects in my hat box.


The final item I put in was a votive candle in the same coral color (it's one of the reason I went with this color scheme.). I also wrapped paper around the metal portion but will warn the recipient to remove the paper before using it.

Use sticky strip when adhering the drawers and tops on. There will be less chance of it falling apart. You can see there was some impact here but it still held.


And that's it. It's so easy it's criminal! I'm hoping to make some using Christmas paper and colors.  Maybe I'll post those later.

Take care friends,
Much love and joy,


http://stampinnscrappinwithkaren.blogspot.com/

Saturday, November 13, 2010

Note Kit


Hello everyone,

Boy, it's been a week since I've blogged and I realized that I may have to do a weekly project instead of a daily one.

I bought a bulk paper pack of this design so I have a ton of it. The colors are Old Olive, So Saffron, Pacific Point, Chocolate Chip and Very Vanilla.


Here is the inside. It's a Note Kit. There are cards in the back section, 3x3 notes in the front right and tags in the front left pocket. I attached a few yellow post it pad notes but you could certainly add more if you'd like.


This is one of the tags.


This is one of the plain 3x3 note cards.


These are some of the note cards. I got the idea from someone very talented on Split coast but can't remember who ... I'm so sorry I can't give you credit for the note kit design. There may be a pattern on Split coast with directions for it.


That's it for me ladies. Don't forget to get you orders in for Christmas or Hanukkah cards. It takes a little longer around Christmas to get your order.

Have a wonderful weekend and we'll see you soon,
Much love and joy,


http://stampinnscrappinwithkaren.blogspot.com/

Wednesday, November 3, 2010

Post It Holder


Hello there!

I've been messing around with my Zutter BIA (Bind it all) and excess DSP from the past. I promised myself that I wouldn't buy ANY more DSP until I used up, or at least made a dent in, what I had.

I love this Lovely Letters Alphabet. It's one of my favorites.

This is a post it holder for 3x3 post its.


My note pad got stuck on a little over to the right. My bad. The DSP is stuck to two square coasters with the edges clipped using the corner punch.

These make great stocking stuffers with a matching pen.

That's it for me! I'll see you soon! Don't forget to order your supplies for Christmas or Hanukkah cards. The time is slipping away.


Take care. Much love and joy,


http://stampinnscrappinwithkaren.blogspot.com/

Monday, November 1, 2010

Pun Fun Sheep


Good evening,

Yep! It's evening and I'm blogging. My mornings have been filled with appointments and meetings so I finally decided I neede to blog when I found the chance.

This is a cute little box with 3x3 notes in it. I used Pink Pirouette cardstock and used leftover DSP and Kiwi Kiss. I dug out an old SAB stamp set for the scallop circle and five petal on the front. The little sheep cards are made with the stamp set Pun Fun.


Here's the card image. The sheep wasn't colored in but I spread two way glue on it and Dazzling Diamonds glitter It's such an easy design. I also matted the image cardstock in black but only gave it piping instead of a larger mat.

I use the box to store these little notes and when I need a "thank ewe" I grab one along with one of our mini envelopes.

Thanks for stopping by!


Much love and joy,


http://stampinnscrappinwithkaren.blogspot.com/

Sunday, October 24, 2010

3x3 Mini Gift Cards and Tote


Good morning everyone,

I can't believe it's been a week since I last posted! Work is still crazy and shows no sign of letting up. Stamping, right now, is a distant memory.

It rained Saturday and I planned on getting out the supplies but had to convert my closet from summer to winter apparel first. By the time I got that done, I was pooped!

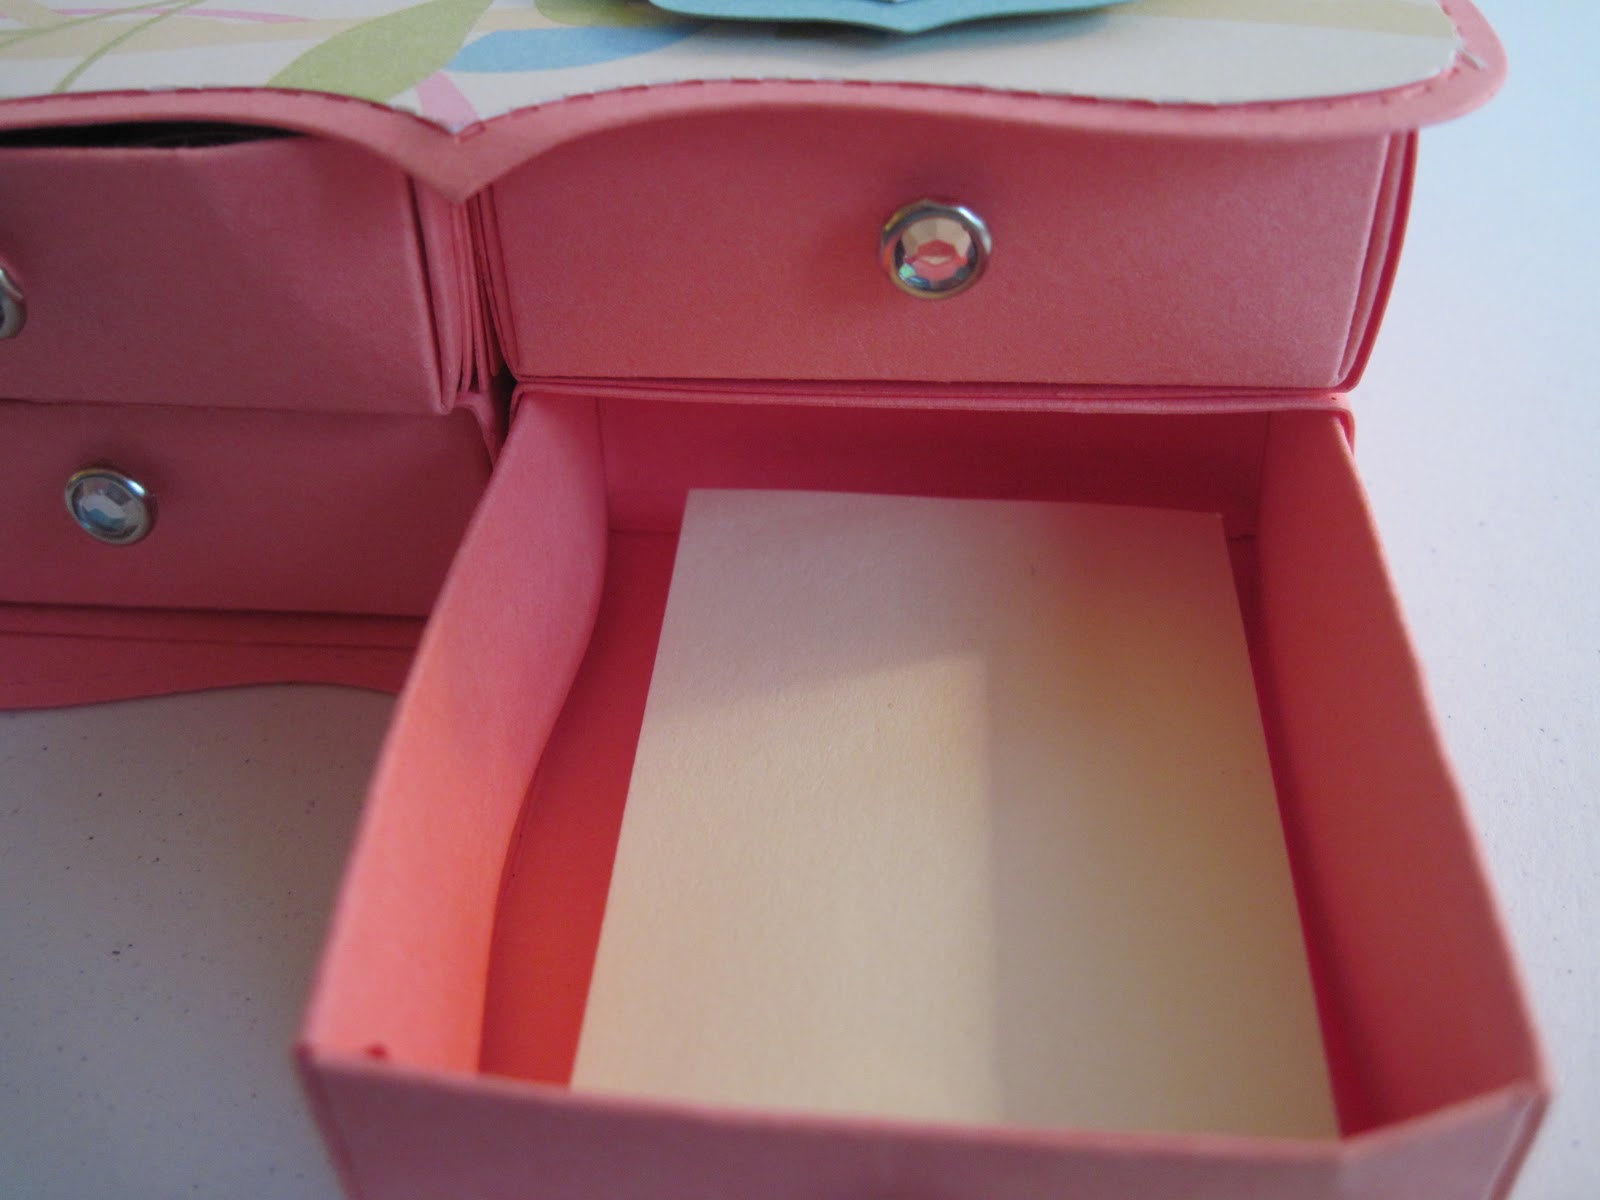
However, when I was in the closet I found an entire hat box full of 3D projects I'd made so thought I'd post some of those! This cute little note box uses the scallop edge envelope Big Shot Sissix die with Designer Series Paper (DSP). I then stamped the flower, used the five petal punch to punch it out, the Sissix die Little Leaves for the leaves and adhered it with a Build-a-Brad using the same paper as the insert.


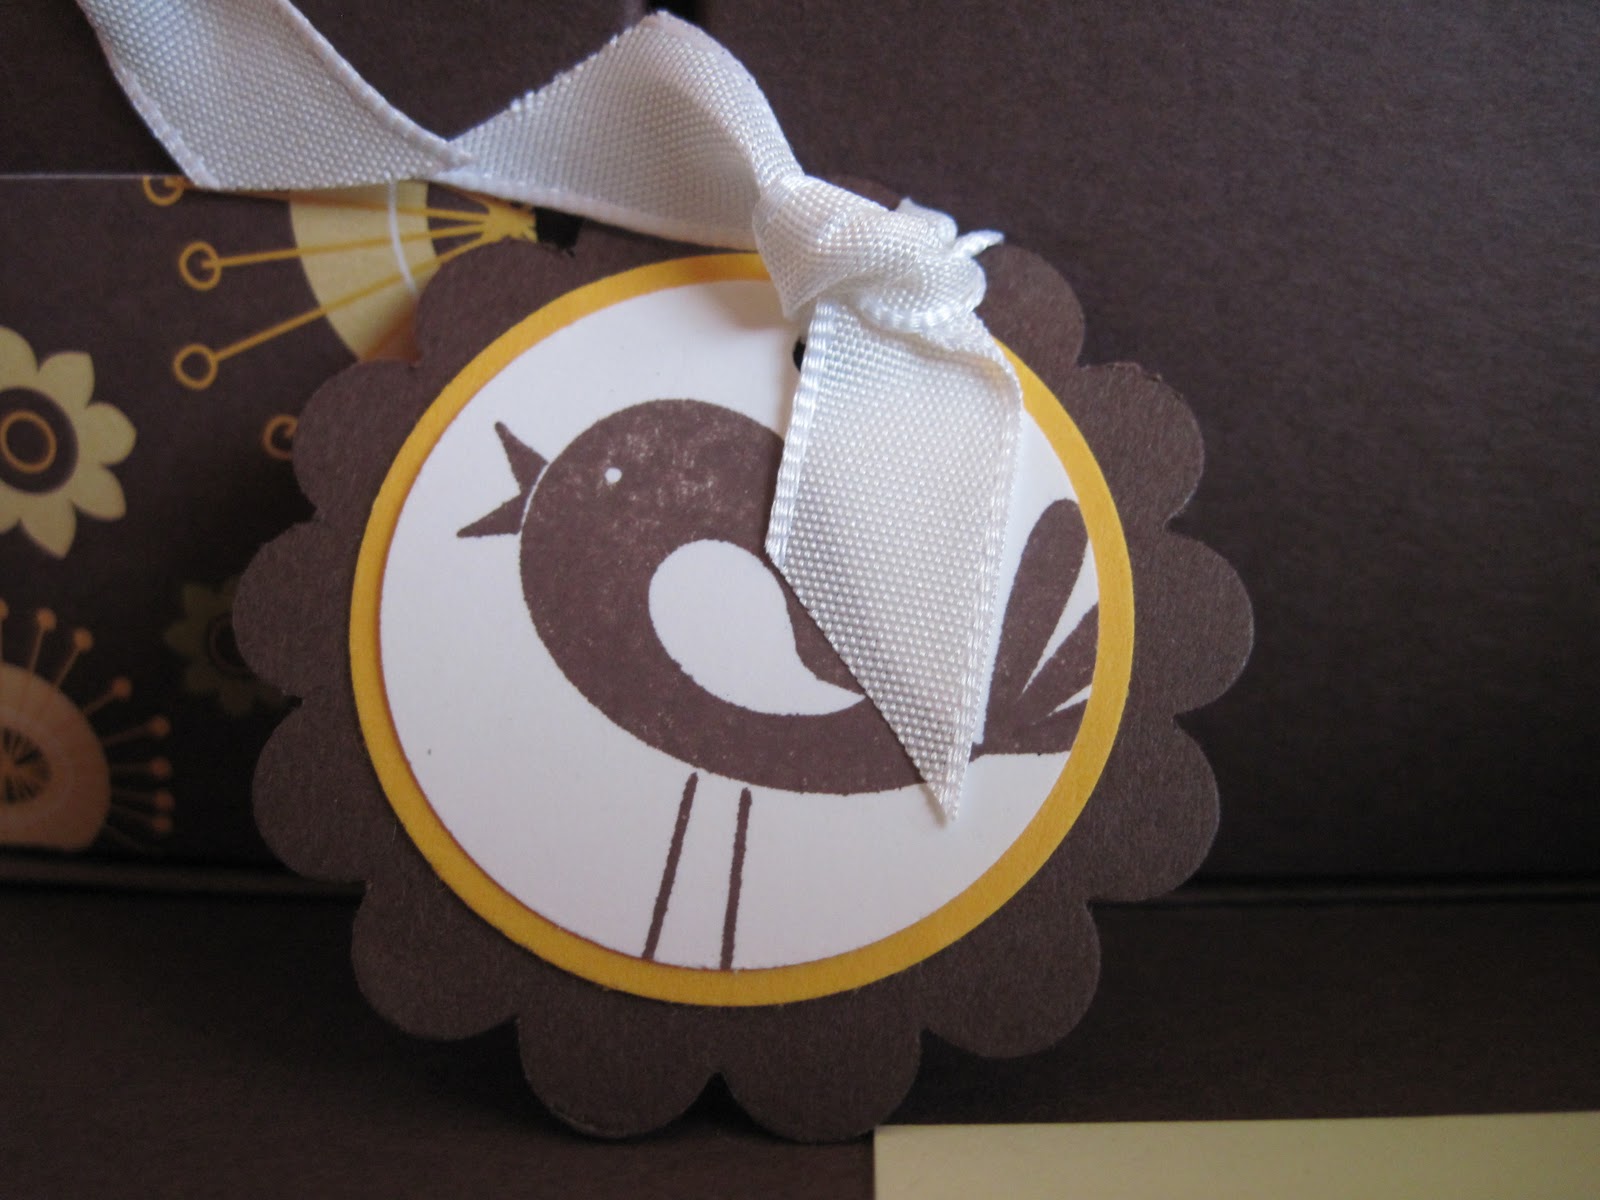
Then I made a series of four cards using the same DSP and the Trendy Trees stamp set.


I just love these little trees! They're so versatile.


I used brads for blossoms on this one. (Hint: I've used red brads for apples in the fall cards!)

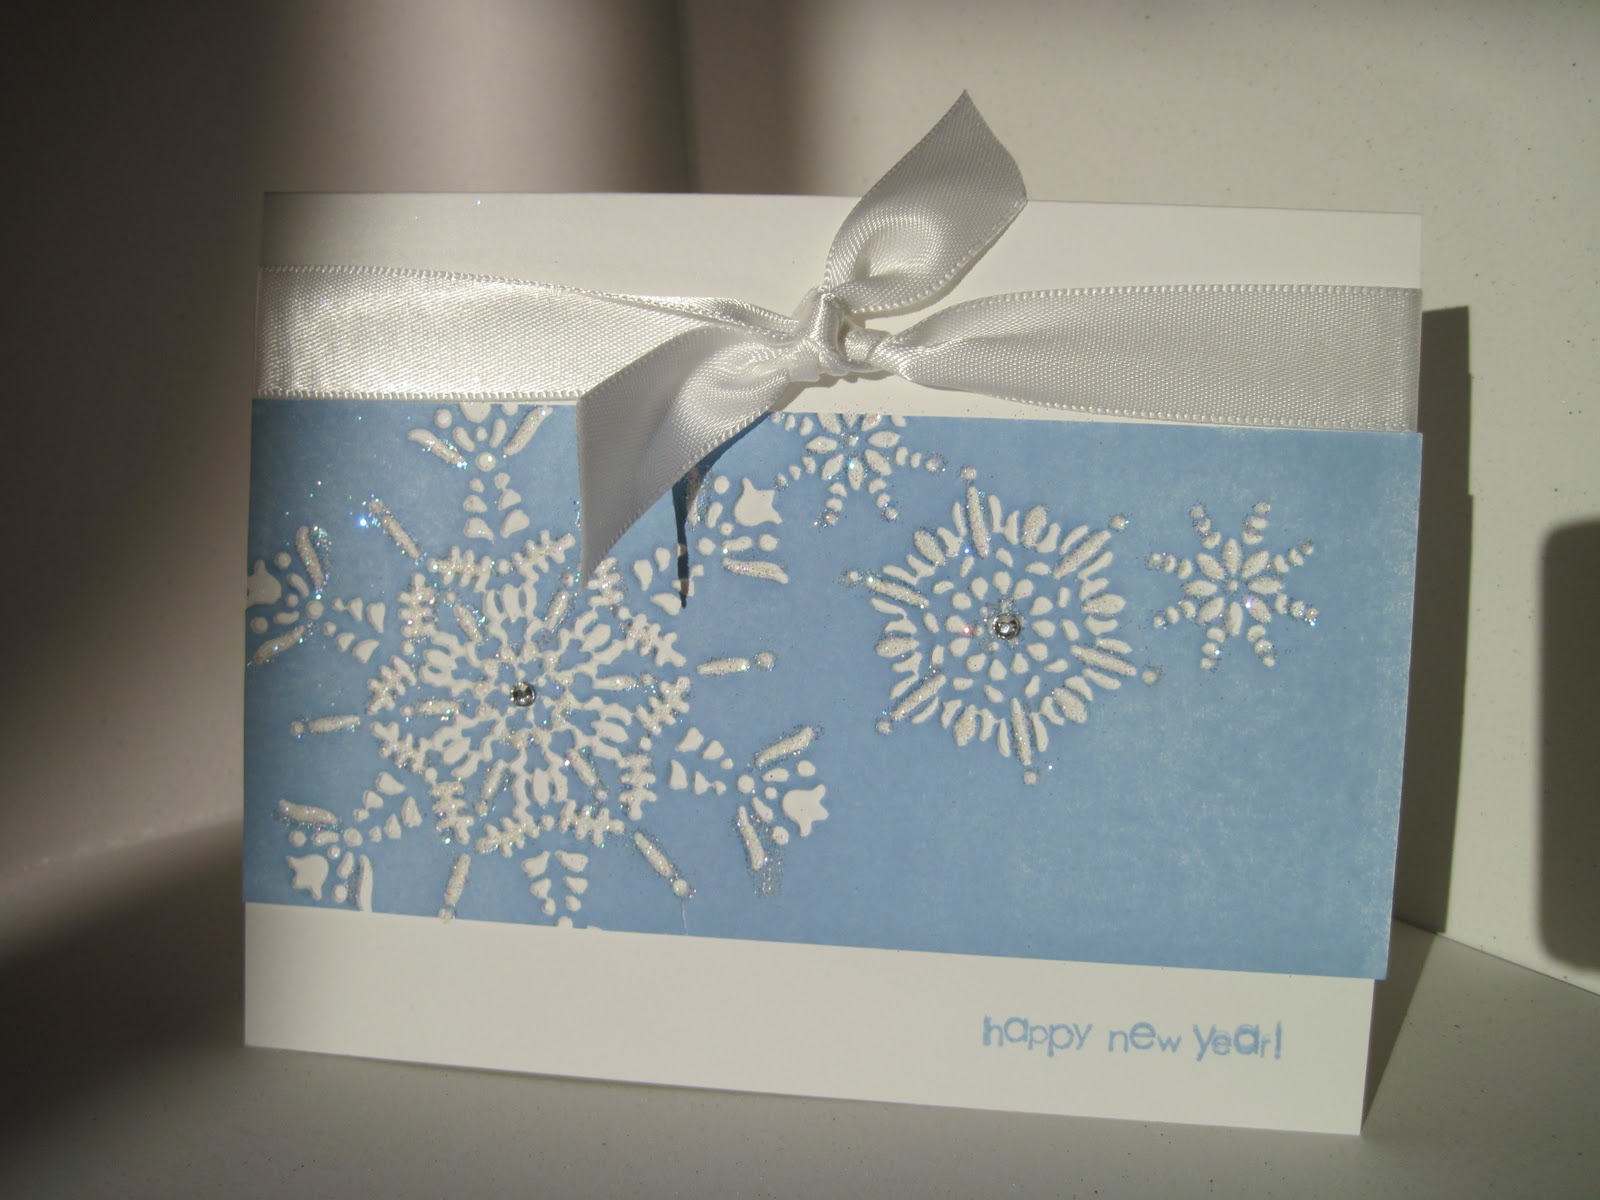
I also used the scalloped edge punch for the white scallop.


This one has some sponging on the edges too. I put a flower brad in the center of the stamped image and used the scalloped edge punch in a different way here.


Just slip the little notes (they are 3x3 notes) into your little carrying case and you're all set with a quick gift. Our Stampin' Up! Love Note or Mini Envelopes fit this size of card beautifully. They're so awesome with gifts, care baskets, or as a hostess gift.


I probably won't blog again until next weekend. Until then, have a wonderful week!
Much love and joy,


http://stampinnscrappinwithkaren.blogspot.com/

Wednesday, October 20, 2010

Gratitude image


Good morning,

You might have noticed that I'm not blogging daily anymore, that I am blogging every couple of days. That's because work has been crazy enough so that I'm not getting stamping time in quite as much. However, never fear. I'm still here!

Today I wanted to show you the amazing stamp set Gratitude. Look at the larger stamp here! I colored the image with Stampin' Write markers in More Mustard, Old Olive, andn Cherry Cobbler. There is a tiny bit of Early Espresso on the dots near the center of the image. The card is Early Espresso and I rolled the matching Jumbo Wheel across it with the Early Espresso ink.

A pearl in the middle and some satin ribbon, plus a greeting ... I haven't finished the card or I'd show it to you. Call this a sneak peek. ;-)

Have a wonderful day and we'll see you soon,
Much love and joy,

http://stampinnscrappinwithkaren.blogspot.com/

Saturday, October 16, 2010

Time to Bloom

Hello everyone!

I haven't had time to stamp so this is a fairly old project.


I used the It's Time to Bloom set along with some hodgepodge hardware. Instead of using the second brad I used an epoxy brad on the bottom. The patterned paper went well with Very Vanilla cardstock and really popped the red color.

The ribbon was red satin. The ink colors Old Olive and Real Red.

Thanks for stopping by!
Much love and joy,

http://stampinnscrappinwithkaren.blogspot.com/

Wednesday, October 13, 2010

Stamp set for sale

Stamp Set for Sale


Hello,

Sorry about the sporadic entries in the blog but work is insanely busy and I haven't had much time to stamp! :-(

Today I'm offering this stamp set and card for sale for $6.00. If you can't pick it up then shipping is the small priority flat rate box at 4.95.  The set was originally $11.95.

This is a retired set and I only have one of them so when it's gone, it's gone.
Contact me at Frames Stamp Set.

I also have a variety of retired Idea Books/catalogs available for $1 each. Shipping applies if you can't pick them up. I'll post more information on the years available on my next post.

Talk to you soon,
Much love and joy,


http://stampinnscrappinwithkaren.blogspot.com/

Saturday, October 9, 2010

Daisy a Day


Good morning everyone,

How are you? We're fine. We had a great day at the river yesterday. It was 83 degrees and that's saying something mid October in Wisconsin. Today and Sunday are more of the same.

This card was a happy accident. I die cut a daisy with my Big Shot and the Daisy Flowers #2 die and realized that my paper had been off and only cut one of the flowers part way. Duh, right?

Well, when I laid everything down I liked the look of a partial die cut on the page, kind of like when we stamp partially off the page. Sooooooo.... I first ran about an inch of the base card through my crimper leaving it smooth on top and for about a quarter to half inch on the bottom. I then secured a printed window sheet with dots in Night of Navy. I put the large white flower from the Pretties Kit on the dotted window sheet and overlaid a small daisy with a pearl embellishment.

I took my partial daisy and mounted it with a large white brad. THe finishing touch was a Whisper White taffeta ribbon. I love the 3D look of it with all the textures and embellishments. I haven't put a greeting on it but I'm thinking all occasion.

Have a wonderful day!
Much love and joy,

http://stampinnscrappinwithkaren.blogspot.com/

Friday, October 8, 2010

Brayered Snowflakes


Hi there,

Boy, have we been busy! How about you? I've been taking a stamp class on line and haven't even had time to make the projects!

This one uses the same brayer technique that I'm so stuck on! lol. It's going to be my Christmas card this year I think.  Whisper White paper really pops with the blue ink.

I ran a piece of WW cardstock through the Big Shot using the Northern Flurry embossing folder. I ran the brayer through Night of Navy ink and ran it across the embossed piece (embossing side down). I attached it to the WW cardstock base, stamped Merry Christmas and used Dazzling Diamonds along with two way glue to give the card some Christmas glitz.


You can see that I added the crystal rhinestone stickies to the centers of the snowflakes too for extra bling.

A fun and easy card!


This is the same card in Bashful Blue but I put a New Years greeting on it.


I'm off to enjoy the day ... 80 and sunny ... in October. Not something that happens in our neck of the woods every year ... it's Indian Summer and GORGEOUS!


Hasta luego!
Much love and joy,


http://stampinnscrappinwithkaren.blogspot.com/

Wednesday, October 6, 2010

Summer Beach


Good morning,

I was fiddling around with my glossy paper and decided to get out the old Sparkling Summer stamp set for a little crayon resist!

The card base is Bashful Blue and the Designer Series Paper is a retired piece. I took a piece of glossy cardstock, stamped the image with StazOn ink and let it dry. Then I took a white crayon and colored the umbrella and chair. After that I applied the Barely Banana, Bashful Blue and Close to Cocoa ink using the direct to paper method.

I used a paper towel to wipe away the wax from the crayon and then matted the entire thing with white to make it pop. The saying is from an old word set. I used brads to offset the greeting.

I forgot how much fun crayon resist can be. I'm also trying to revisit some of my old sets to rediscover the joy of using them.

Hope you have a great day!
Much love and joy,


http://stampinnscrappinwithkaren.blogspot.com/

Monday, October 4, 2010

Birthday Whimsy stamp set for Sale


Good morning.

The weekend was wild so I didn't get much blogging, or stamping, done. Fall is crazy around here.

I wanted to post this stamp set called Birthday Whimsy along with a card idea. I'm selling this set for $6.00 (plus shipping unless you pick up here) let me know in the comments section if you're interested in purchasing it.

I have more than one set so the set I'm selling is not the one I used and is brand new! I did mount if for you because it's an older set and would've needed cutting with special scissors.

Have a great day and see you tomorrow!
Much love and joy,

http://stampinnscrappinwithkaren.blogspot.com/